Cloudflare
Connecting Cloudflare as a DNS provider in DNS Watchdog.
Overview
Cloudflare provides DNS hosting alongside its CDN and security services. DNS Watchdog connects via a scoped API Token to discover zones and sync records.
API Token vs. Global API Key
This is the most common point of confusion when connecting Cloudflare. DNS Watchdog requires a scoped API Token, not your account's Global API Key.
Cloudflare credentials are now issued in a prefixed, scannable format that tells you exactly which type you are holding:
| Credential | Prefix | Use with DNS Watchdog? |
|---|---|---|
| User API Token (scoped) | cfut_ | ✅ Yes — use this |
| Account API Token | cfat_ | ❌ No — the form requires a user token (cfut_) |
| Global API Key | cfk_ | ❌ No — full-account secret, not supported |
DNS Watchdog validates the token format in the browser: it must begin with
cfut_. If your credential begins with cfk_, you are holding the
Global API Key, which grants full access to your entire Cloudflare
account — create a scoped User API Token instead.
Tokens created before 2026 are unprefixed (40-character strings). Because the
form now requires the cfut_ prefix, roll any older token to get one in the
current format.
Authentication
Cloudflare uses scoped API Tokens (cfut_…) rather than the legacy Global API Key (cfk_…):
| Field | Description |
|---|---|
| API Token | A scoped Cloudflare API Token (begins with cfut_) with DNS permissions — not your Global API Key |
Setup
- Go to the Cloudflare dashboard
- Click Create Token
- Use the Edit zone DNS template (or create a custom token with the permissions below)
- Scope the token to the zones you want DNS Watchdog to monitor
- Copy the generated token — it begins with
cfut_. (If you instead copy the Global API Key from the API Keys section, it begins withcfk_and will not work.) - In DNS Watchdog, go to Settings → Providers → Add Provider
- Select Cloudflare as the provider type
- Paste your API token (the form checks that it begins with
cfut_)
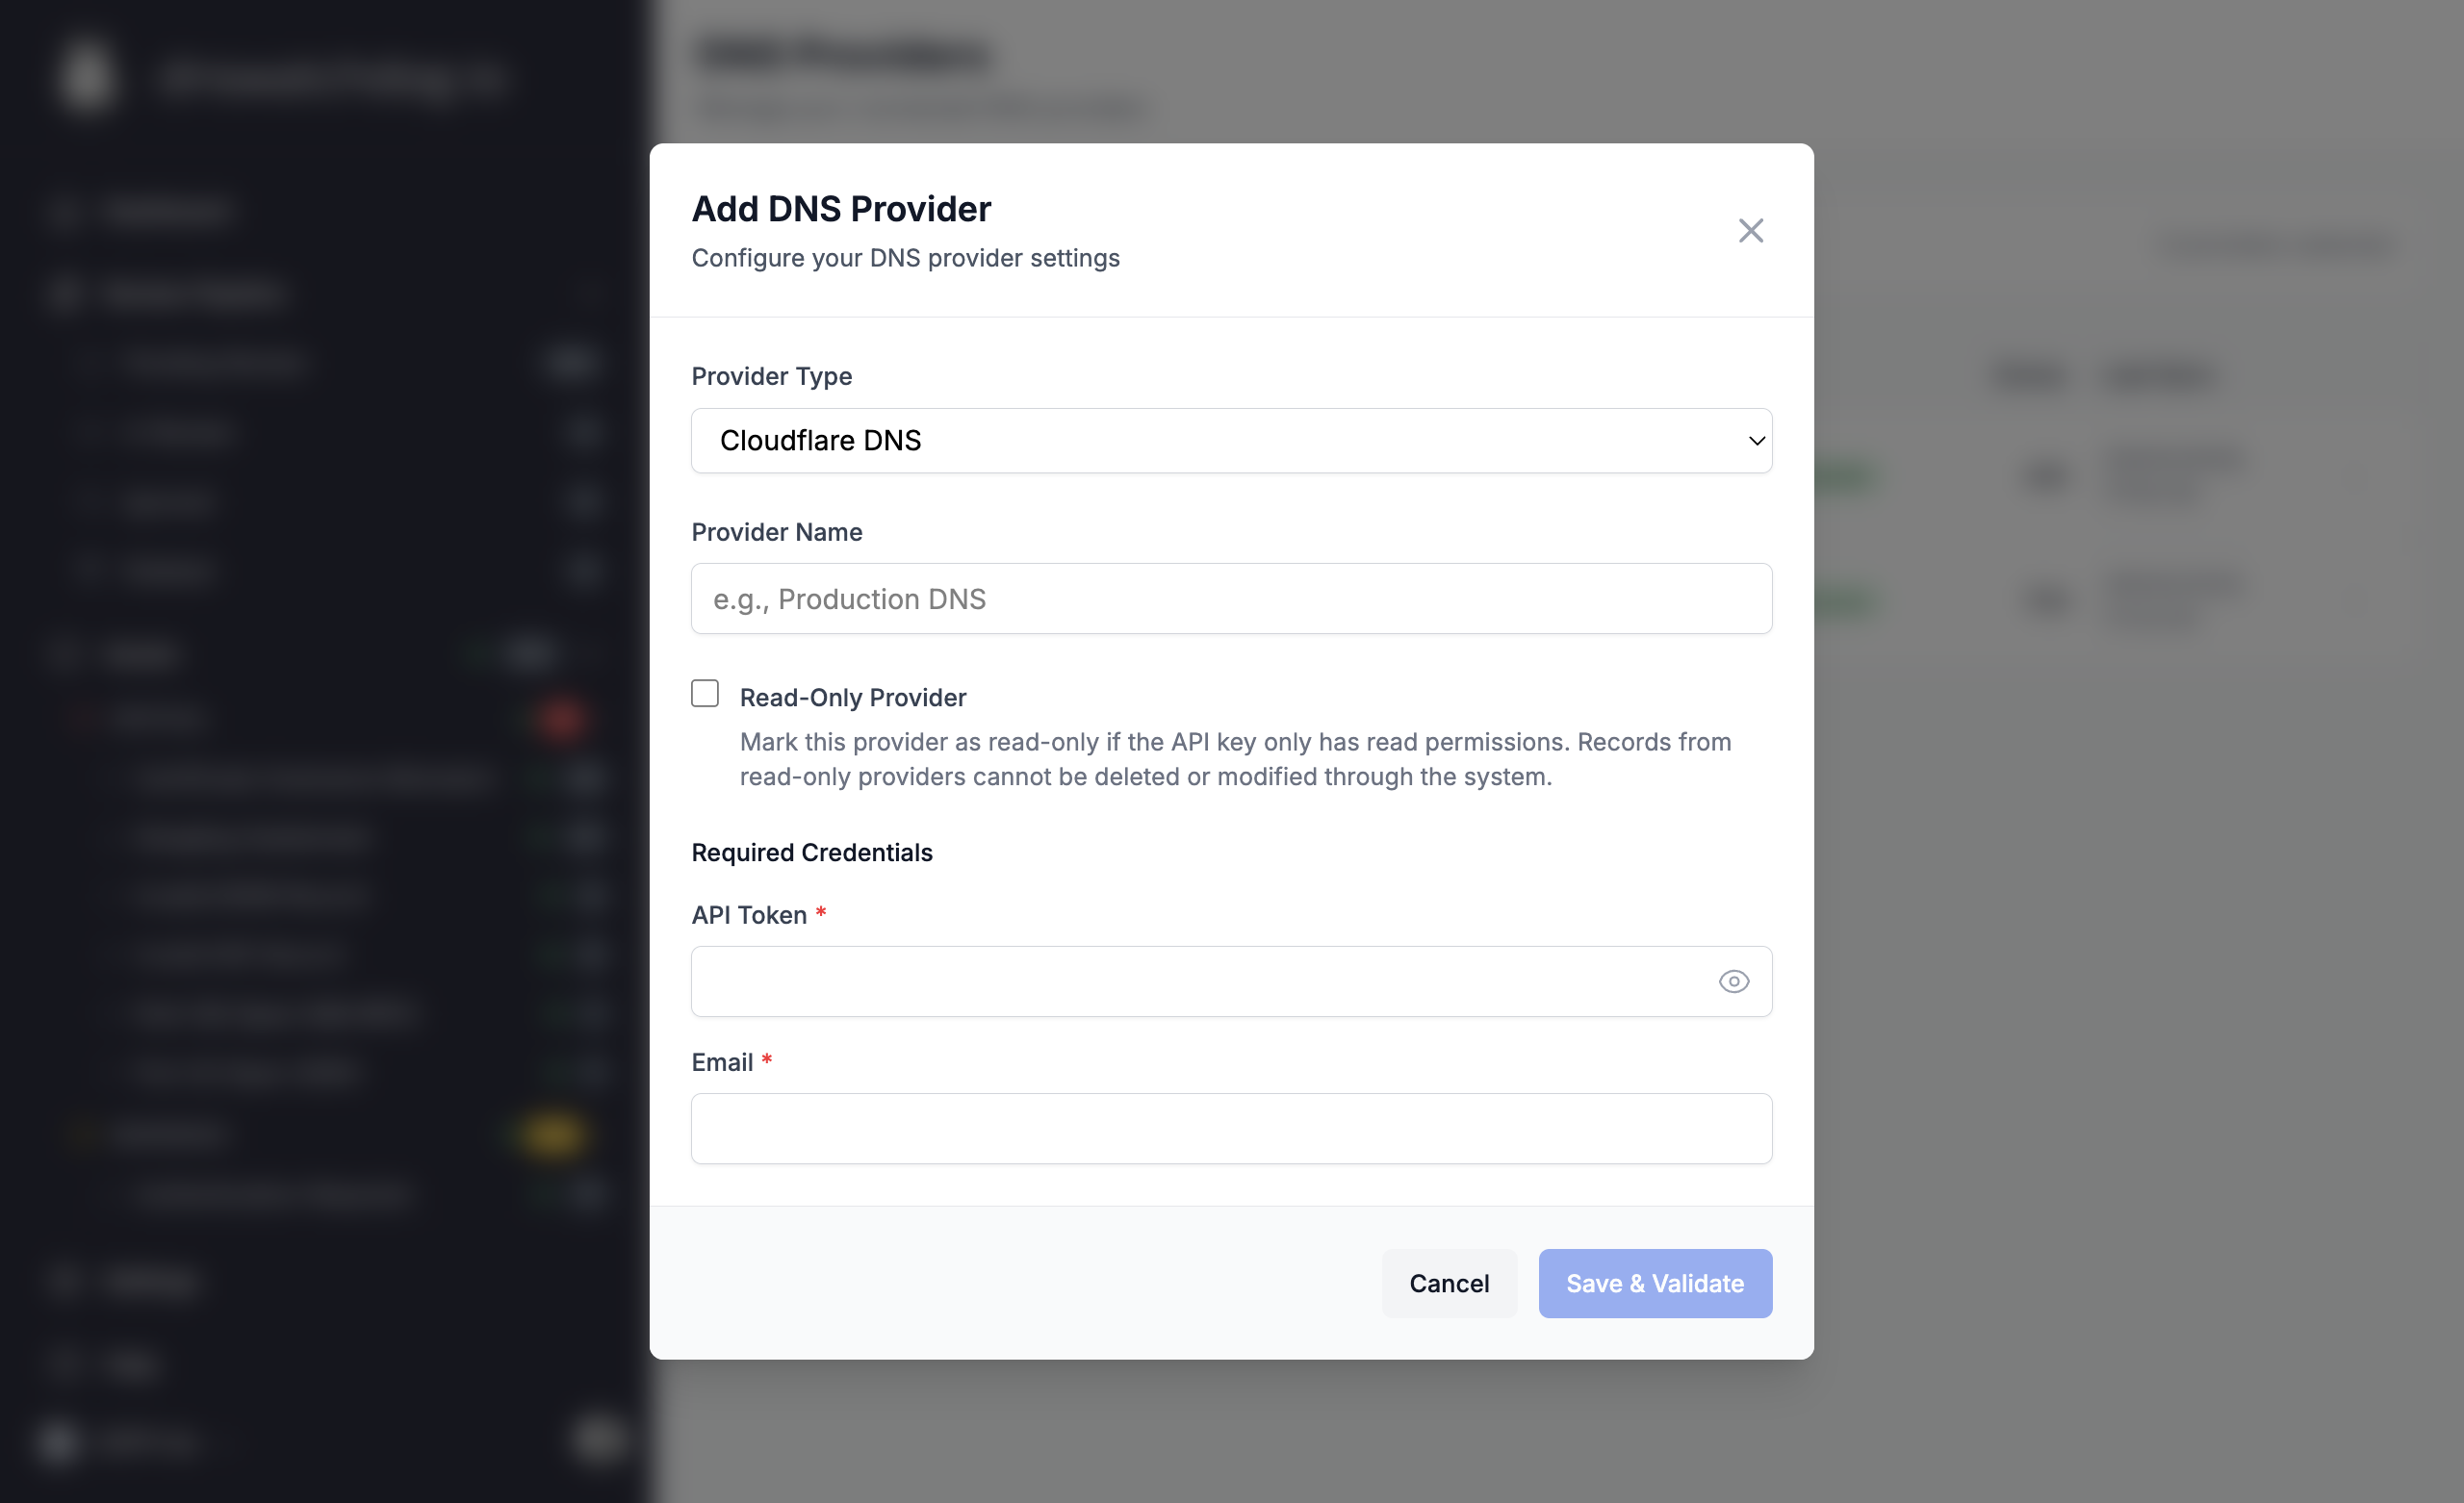
- Choose your access mode (read-only or read-write)
- Click Save
# Create a scoped API token (the response token begins with cfut_).
# The Authorization header below needs an existing token or Global API Key
# that has permission to manage tokens — this is only used to mint the new
# scoped token, it is not the credential you give to DNS Watchdog.
curl -X POST "https://api.cloudflare.com/client/v4/user/tokens" \
  -H "Authorization: Bearer <EXISTING_TOKEN_WITH_TOKEN_MANAGEMENT>" \
  -H "Content-Type: application/json" \
  --data '{
    "name": "DNS Watchdog",
    "policies": [{
      "effect": "allow",
      "resources": { "com.cloudflare.api.account.zone.*": "*" },
      "permission_groups": [
        { "id": "<ZONE_READ_PERMISSION_ID>" },
        { "id": "<DNS_READ_PERMISSION_ID>" }
      ]
    }]
  }'
Copy the cfut_… token value from the response, then add it in DNS Watchdog under Settings → Providers → Add Provider.
Token permissions
- Read-only —
Zone:Zone:ReadandZone:DNS:Read - Read-write — additionally requires
Zone:DNS:Edit